Showing posts with label Vintage. Show all posts

Sunday, April 9, 2017

Tag-Steampunk card.

Hi there everyone!

Are you ready for the easter holidays? I`m nearly getting there. Just a few hours at work tomorrow and then i`ll have 13 days off from work. I can really need them now, lol.

So lets just get down to buisness. I have attended several classes with Yasmin Tölche. And this card is from one of them.


This is a card created by folding a large tag (size 12 i believe) in half. As usual we created lots of layers to create more of a 3D effect. We started off with several layers of designpaper. We cut out a lot of ephemera from one of the DP`s of Graphic 45 to use as embellishments on the card. The white wings and the large cog in the background is embossed with several layers. 


Before the embellishing we used some twine to keep some of the layers together. Next we started building the layers of embellishments. The metal heart is coloured with a red ProMarker. (Poppy)


To finish it off we glued on some microbeads and metal cogs. The bow is coloured with inks from Lindy`s Stamp Gang mixed together to get this dirty greenish look. 

Hope you like the card. Thanks for visiting me today. And....


Tuesday, April 4, 2017

Steampunk bag`n tag card.

Hi everyone!

I while back i attended a class by Yasmin Tölche. We were creating a steampunk bag`n tag card. That`s a paperbag-card with a tag inside. I had so much fun doing this. I just love all the layering. I have learned a lot from Yasmin. She is so creative and energetic and so much fun to be around. Thanks for beeing such an inspiration Yasmin. 

Well, you probabely want to see the card... so here it is.


Isn`t it cool? I just absolutely love it. Papers used are from Graphic 45....i think. If not, you have to arrest me on that, lol. The stamp, i do not know what brand it is, sorry.  But the chipboard gears are Sizzix bigz dies. These are covered with 3 different colours of embossingpowder which gives them this cool rusty effect. 


The pieces is adhered in several layers to make this 3D effect. You can use 3d glue dots or just cut out som old chipboard-pieces. Old boxes makes grate 3D effect so don`t throw away your old cardboard-boxes. It`s a great way to do some recycling. 


The metalpieces are mostly from Tim Holtz and Korthobby.

Thanks for stopping by today.

Thursday, November 24, 2016

Vintage mixed media canvas

Hi everyone!

Is anyone starting to get in some Christmas mood? Well i`m not! So i`ll just have to work on it, lol. In the meanwhile i have worked on something else. I got commisioned a vintage canvas and that`s what i`m going to show you.


The size canvas is about 6x8"...ish.
I started with priming the canvas with gesso. Next i used some modelling paste and stencils to make some extra texture. I started gluing down my embellishments when the paste had dried. I used a chipboard frame from Blue fern studios and a leaf branch from Dusty attic.


The image is from Ppinkydolls and is coloured with ProMarkers.


I have used flowers from Prima mainly but also some few others. Several metal work pieces and some lace. It all were thoroughly covered with gesso before i sprayed the whole thing with several colours of sprays from Lindy`s Stamp Gang.


I finished it of with some gems and some liquid pearls.


Look at the gorgeous sparkle of the flower. It was coated in a generous layer of Stickles stardust. Looove how it turned out.


Hope you like my new project. Thanks for stopping by today!
I allways appreciate some love, hint, hint, wink, wink, lol.
See you soon.

I`m entering these challenges:

Nordsalten hobbyklubb - Anything goes
Kort o Mania - Anything goes

Monday, October 10, 2016

Confirmation cards

Hi everyone!

I have some confirmation cards i would like to show you. the first two are commisioned ones and the last one i did for my niece`s confirmation.


This first card for a boy, is quite simply made. I have used some decorative papers from Kort & Godt. I just cut out the picture to use as vocalpoint, layered it and added a text stamp and a couple of gems. And voila....finished. The same papers are used on the inside.


This next one is more of a shabby vintage one in white and cream. I`ve used some gorgeous with lace trim. Also added a gorgeous star half circle die and mounted it around and behind the image. Put on a die cut on top and embellished the card with flowers, a wood heart and a pearl pin and a charm. Behind the image you can also see some cheesecloth.


This last one is the one i created for my youngest niece. She was the last one to get confirmed. The image is by Jeremiah Ketner and is available here. She is coloured with ProMarkers.


The clay elements are homemade, using silicone molds. 


Well...i allmost can`t believe it. 4 posts so far this month. Where is it going to end, lol?
It`s good to have the mojo back. Hope to see you back soon.


Saturday, August 27, 2016

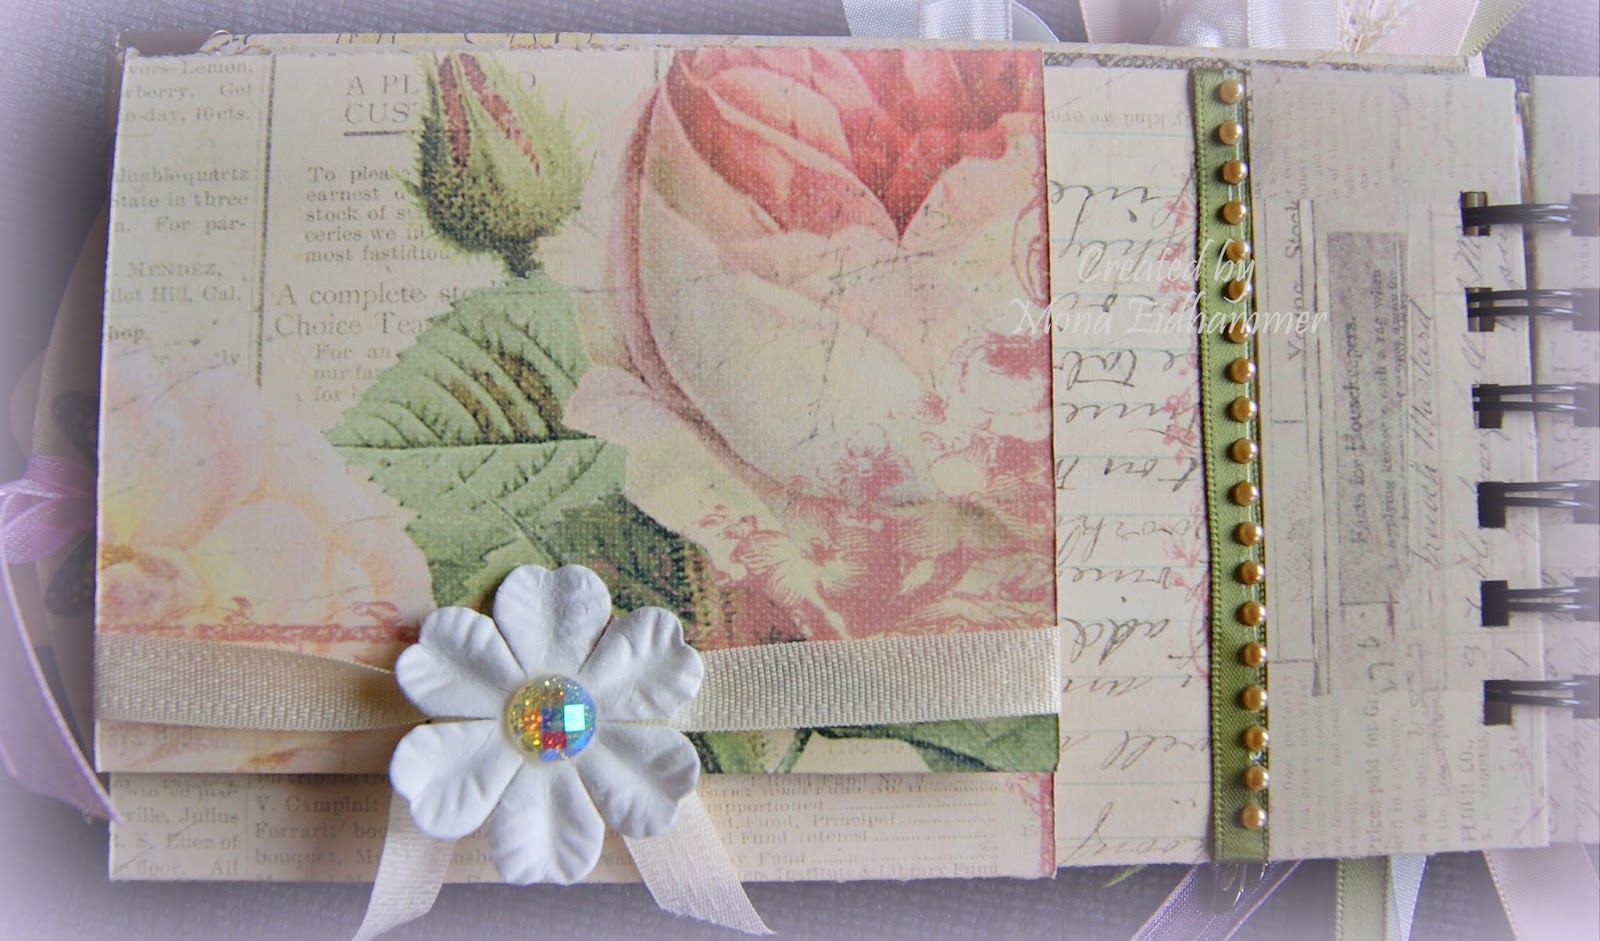
Coin envelope mini-album

Hi everyone!

Today i would like to show you a minialbum i created for a sweet friend in the states. There is a lot of pics in this post, but i hope you will stick around anyway, lol.

These days coin-envelopes are hard to get a hold of here in Norway, so i have improvised a bit. My friend Martica, made me a mini-album recently and i copied her take on these envelopes. (Btw it`s absolutely gorgeous the mini i received.)

Hope you like the mini i created. Here we go.


On the cover i have used Prima papers, Nature`s Garden collection while the papers are all from the Tea-Thyme collection. 


You can see a chipboard piece from Dusty Attic on the front. This i have left plain, only used clear wink of stella on it to make it glittery. The effect is just gorgeous. You can see it at bit better on the image below. The flowers are from Prima, Petaloo, Kort og Godt and Storyteller.


I also used Wink of Stella on the wood piece from Kaisercraft. The white frame is created from paperclay using a mold.


This is the first time i have made use of my bind it all without help. And i think i got hang of it fairly quick. So i might just have to start creating more mini abums, lol. I can`t just let it stay on my shelf collecting dust either, hahaha.


For decoration, i created a charm using glass beads and an wing and also some metal decor. Love how it turned out. 


Tags for pictures. I wanted to have as many possibillities for pics as possible.


Pages with flaps to have space for pics or journaling.


All the flaps has magnetic lock to keep them in place.


I wanted to keep the album fairly simple as the pages are so decorative themselves. Also i wanted to keep the space free to be able to place pics in a nice way. There is plenty of space to decorate after pics are placed.


I was originally making an other album but i managed to muck it up totally. The binding was completely wrong. And the pages looked weird. But i`m happy anyway, course i got to create this lovely piece instead. I had a hard time sending it to the States as i liked it so much myself. But i`m happy i did, course the lady who received it was overwhelmed by it. And i`m sooooo so happy she liked it.

Hope you like it as well. Thanks for stopping by. I really appreciate it.

Some of you might notice that i have changed settings on my blog. I have removed the Google + connection to make it easier to comment. I have noticed that i allmost never got any comments on my posts and here the other day a lady told me that i should remove Google + as not many were using it. That`s why my comment section has been rather slim. I was not completely aware of the fact but now i have changed it, so i hope i get more comments now. I`m a bit slow you see, hahaha.


Friday, May 13, 2016

Vintage tag swap - The Bicycle tag

Hi everyone!

I`m sorry for keeping you waiting. I`ve been struggling with a heavy migrain the last couple of days, and it put me out entirely. But now i`m ready to blog my last tag for this swap.

This one is the bicycle tag.


I have aimed for a french feel on this one. Papers used are from Maja Design. The main paper is toned down using a thin layer of gesso. 


I haven`t done much to the tag itself other than layering my embellies. I think the papers are so beautiful themselves so i just created a cluster of embellies from the middle to the lower part of the tag.


The Eiffeltower is cut out from a thin chipboard and then embossed with shabby blue embossing enamel from Stampendous.


The chipboard pieces is just covered with gesso. And blinged up a bit. 


I added some flowers, a paperclay frame, some ribbon and this gorgeous metal bicycle, I think these small organza flowers are just sooooo adorable. 


For the finishing touch i added a vintage button which i think is really beautiful. 
At the bottom i put on some gorgeous yummy lace and a bling ribbon.

Well....that`s all my tags for the vintage tag swap by Martica. I have received such sweet comments from the recipients and i`m so happy they were pleased with my work. 

I really appreciate your visits. Thanks.
Have a great weekend everyone!


Related Posts with Thumbnails