Showing posts with label Mixed media. Show all posts

Tuesday, June 6, 2017

ATC swap series

Hi everyone!

I`m back with some ATC`s i created for a swap a while back. The theme was collage and these are what i came up with.


It was essential that the ATC`s looked like part of a series. So i used the same colours and elements, but i changed the images and placing of elements so they wouldn`t look exactly the same.

I`m sorry the pics aren`t the best. I was in a bit of a hurry to get them posted within the deadline....yeah...that`s me....Last Minute Eidhammer is my name, hahaha.


I`ve posted closeups of all the ATCs. I have to say i was a bit satisfied with these. Love how the colours came out. And i had so much fun making them.


I hope you like my ATCs. Love to see you back here soon,

Thursday, November 24, 2016

Vintage mixed media canvas

Hi everyone!

Is anyone starting to get in some Christmas mood? Well i`m not! So i`ll just have to work on it, lol. In the meanwhile i have worked on something else. I got commisioned a vintage canvas and that`s what i`m going to show you.


The size canvas is about 6x8"...ish.
I started with priming the canvas with gesso. Next i used some modelling paste and stencils to make some extra texture. I started gluing down my embellishments when the paste had dried. I used a chipboard frame from Blue fern studios and a leaf branch from Dusty attic.


The image is from Ppinkydolls and is coloured with ProMarkers.


I have used flowers from Prima mainly but also some few others. Several metal work pieces and some lace. It all were thoroughly covered with gesso before i sprayed the whole thing with several colours of sprays from Lindy`s Stamp Gang.


I finished it of with some gems and some liquid pearls.


Look at the gorgeous sparkle of the flower. It was coated in a generous layer of Stickles stardust. Looove how it turned out.


Hope you like my new project. Thanks for stopping by today!
I allways appreciate some love, hint, hint, wink, wink, lol.
See you soon.

I`m entering these challenges:

Nordsalten hobbyklubb - Anything goes
Kort o Mania - Anything goes

Tuesday, May 31, 2016

ArJo`s Tag & ATC kos

Hi there everyone!

I`m joining in a little challenge on Facebook by ArJo`s Tag & ATC kos
This month Marianne Johansson is the guest designer and she has set the theme this time. Theme set is M - for Maling or in english, P for Paint. 

We have to have a painted background and somekind of stamping and/or stenciling. All with paint.

Here is my take on the challenge.


I started off by painting the whole tag with white gesso. Next i started dabbing spots with Distress Paint (Milled lavender and Weathered wood) sprayed with water to make it run easier. Then i just held it different angles to get the paint blended. Then dried it with my heat gun. I then dabbed some extra spots here and there and dried it.


I then used Art Alchemy Opal Magic and Metallique Acrylic paint together with some stencils to create patterns. Stencils i used are Mini Harlequin, Mini Viva la art and Mini Complicated hearts. All by The Crafters Workshop. I also stamped a honeycomb pattern using black gesso. 


I also used some shimmerz spritz (Plum pudding) to get some pink spots. I also used the top of the bottle to dip into the spritz to make circles. Finally i splatted some paint here and there. Here i have used White gesso plain, white gesso blended with Plum pudding spritz and Weathered wood distress paint. 


I used my Dymo to make the text strips. To make it darker and more dramatic i used black gellato and rubbed it around the text and the edges. Around the ART text i used a gel pen course i didn`t want to muck it up too much.


To finish off my tag i coloured up some seambinding to match my tag. For this i used Plum pudding spritz for the pink one and Luminarte H2O Key Lime paint for the green one. I then added some bling and the metal medal from Tim Holtz.

If there is anything you would like to know about the creative prosess, don`t hesitate to ask. I will help as best as i can.

Thanks for visiting me today.


Sunday, May 1, 2016

Scraplifting Marta Lapkowska

Hi there everyone!

I hope you are having a wonderful weekend out there. I`m sitting here blogging and looking out on the fantastic weather. The sun is shining and it is a whopping 13 degrees. It`s just a bummer that i have to be close to the toilet today, lol. Anyway i get to blog my recent creation at least.

I little while back i asked Marta Lapkowska if i could get permission to scraplift her "Serenity" ATC series. Luckely she gave me her blessing. I was so happy course i love this series and i love her work in general. She is such a sweetheart and i am so grateful for her dedication to help new and upcoming artists with tips and tricks when it comes to beeing creative.

Well here we go. This first picture is the original from Marta. I just loooove this series. The colours, the design....i just totally fell in love with these the moment i layed eyes on them. And those butterflies are so, so beautiful.


Here is my take on the ATCs. Not nearly as beautiful as Marta`s but  i like the way they turned out. I didn`t have the same colours as the originals so i had to make do with my own stash. It`s funny to see the difference in the green colour as Marta used powder to blend with her paste and i used spray to blend with my paste. We have used the exact same colour and paste but mine turned out lighter than hers.  


Also...i didn`t have blue embossing powder so i had to improvise with dark brown instead. She also used art sugar to create the glittery effect on her details while i didn`t have that. So i used clear embossing powder with different colour of shimmer for the butterflies and added some Clear Wink of Stella on the dots and text. I know it doesn`t show as my lighting was not the best. I really have to get me one of those light tents, lol. 

Below you see some closeups.


Supplylist for my version on the ATCs:

Words from Authentique Petite diction: Pretty

This project was part of a challenge on Facebook in the group of ArJo`s Tag og ATC kos. Where the theme for the challenge was scraplifting.

Just to mention it if you are new to any kind of paperarts: When you "borrow" someone else`s creation in your work. Or if you are inspired by someone in any way, the proper thing to do is to give credit to the person you are inspired by. Either by mentioning their name in your post or even linking up to the actual piece you were inspired by.

With that said. Keep on creating. Meet new friends, help others where you can and give credit when credit is due.

Thursday, March 31, 2016

Blue Fern Studios Challenge

Hello Everyone!

For the first time i`m entering a layout challenge. I haven`t created many layouts. Can count them all on one hand, lol. As the deadline for this challenge is i the middle of the night for me, i had some poor light to take pics in. I will take some new ones in the morning. So i`m only posting this one, just so i could manage to enter the challenge in time.

UPDATE:
Below i have posted some new pics and a little description on how i went about it.


Here is the sketch we are working from.


I have to warn you though. This is a picture heavy post, lol.


I started prepping my paper from Blue Fern Studios of course (Petit moments from the Frolic collection), with a thin layer of gesso. Next i used modelling paste with stencils from Prima and The Crafters Workshop randomly placed. I then spritzed it with sprays from Lindy`s Stamp Gang and Ranger.


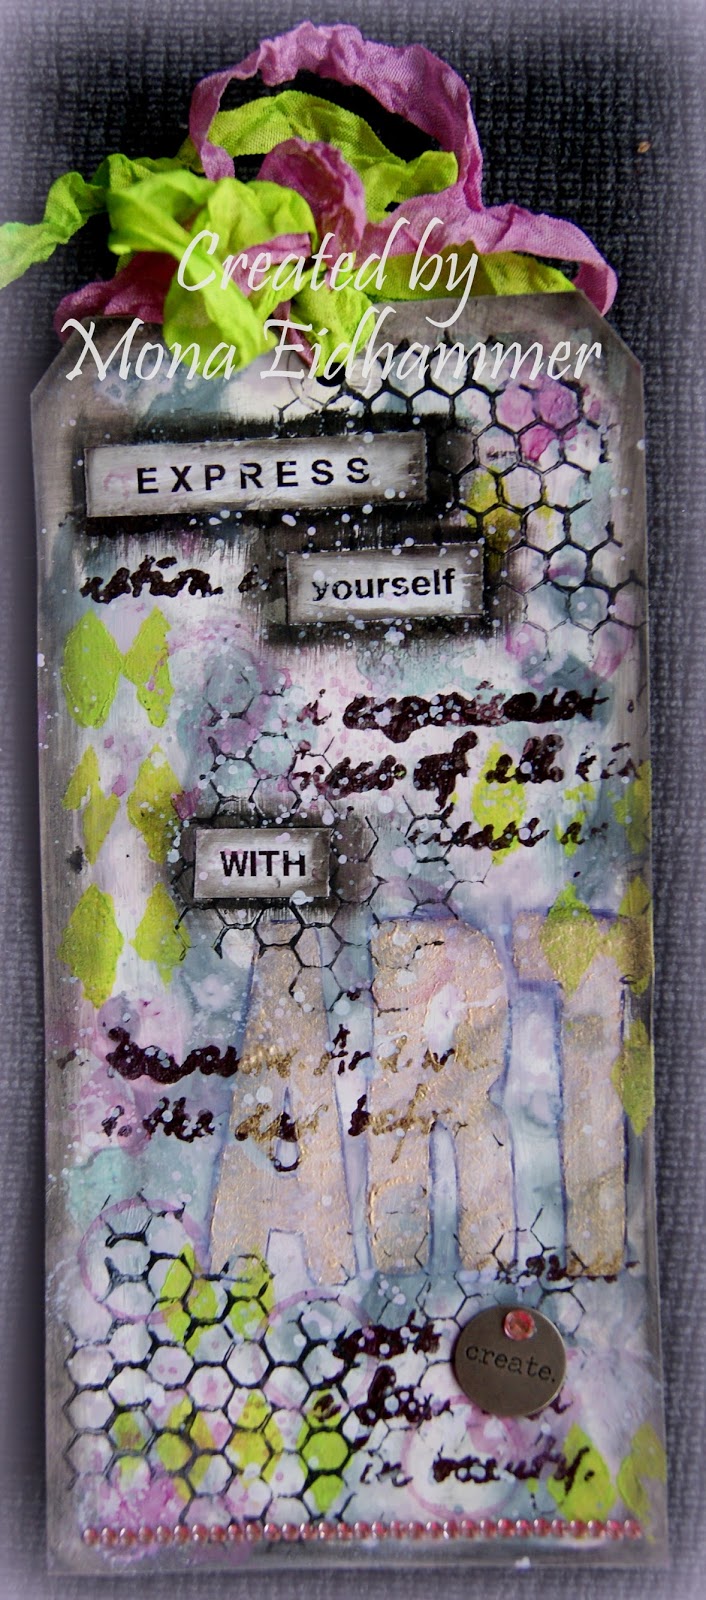
After everything had dried up i stamped with a text stamp randomly placed. I primed the chipboard with gesso and when dry i spritzed with Perfect pearls Blue Smoke and Distress paint Weathered Wood. I also used Long John`s Silver moonshaddow mist with a brush and painted some areas with it. Allmost every scrapper has probabely tons of scrap paper we can`t afford to throw away in case of later use. Well.... i have lots!!! and now i got to use some lol. I glued on some strips of scrap paper along with some corrugated cardboard, a doily and one vintage ephemera card. Oh i allmost forgot, lol. I also sprinkled some white and black acrylic paint blended with water to make it thinner and easier to apply.


When all the groundwork was finished i started embellishing the whole thing. Chipboard pieces from Blue Fern Studios off course. Shabby Brick bits and Township collage.


Other supplies used:

Clear glass beads art engredients from Prima
A mix of dark blue, gold and copper microbeads
Wood clock piece, Flowers,and vintage trinkets, all from Prima
From my stash: Lace, organza flower, a tag, wood star, thread and a tag.
Bling from Prima and Staz


Some more closeups following.


It took me some time since i actually have no idea what i`m doing, lol. That`s how it is when i overthink things. Anyone suffering from the same problem, huh? I have turned to Anna Rogalska`s creations for inspiration. Love her work.

Well, i hope you are still hanging on, lol. It got to be a long post. Not so often i do that. Hopefully it made some sense to you. If not, don`t hesitate to ask. I will try and answer as best as i can.

Now i only have to wish you a great weekend.

Challenge entered - Blue Fern Studios

Saturday, January 23, 2016

Mixed media tags

Hello everyone!

Just popping in to show you a couple of tags i created before Christmas. I suddenly remembered i had forgotten to post them, lol. Senile is a bitch, hahaha.


I used the same technique for both tags. Started off with a stencile and some texture paste. On the purple one i used a cogs stencile.  


I embellished it with a honeycomb from Blue Fern Studios and a wood veneer piece. Not sure what company it is as i got it in a candy long ago. But i think it might be Kaisercraft. Please correct me if i`m wrong. I also used metal pieces randomly placed here and there. Finally i gessoed the whole thing and then spritzed it with colours from Lindy`s Stamp Gang. For finishing touch-ups i put on some bling, some micro beads and a cute ribbon.


For this next tag i started off like the one above, with stencile and texture paste. I then spritzed with my own homemade shimmering sprays. I used distress inks blended with perfect pearls and water. I`m just sorry i didn`t manage to catch the shimmer on camera but i can assure you it looks fabulous. Absolute love the bright yellow colour.


I embellished with some chipboard pieces covered with embossing powder from Lindy`s Stamp Gang. Love the two-toned colour. It`s dark brown with gold shimmer, but it allmost look black. As i didn`t want to cover up too much of the awesome background i just stringed around some jute and a metal flower. To finish it off i put on some bling, text and ribbon. 


I hope you all are having a great wekend. I`m just winding down as this week has been truly exhausting. Just watching some movies with my hubby and just do absolutely nothing. Can it get any better? 

Thanks for visiting me today.


Thursday, December 17, 2015

My first ATCs

Hi everyone! 

I`ve tried something i`ve never done before....ATCs. For those of you that don`t know what an ATC is. ATC stands for Artist Trading Card. These are sized 2 1/2 x 3 1/2 inch. They may seem small but this size is set because they are supposed to fit into the standard card collector pockets.

A little while ago i entered a small challenge on Facebook where we were given a recipe on how to go ahead creating these ATCs. I never thought i`d pull it off but i made it, lol. And i had so much fun as well. So this is something i want to try out more. Hope you like them.


I started off with 4 different heavy designpapers. I painted them with gesso blended in water to get at more transparent look just to tone down the pattern of the paper. 


Next i took some silk paper and stamped it randomly with several stamps. I then crinkled it up and glued it onto the paper sheets. 


For the last steps i first put on some tissue tape and then stamped it with a background stamp. Last step before embellishing was spritzing them with sprays from Lindy`s stamp gang. 


Finally the cards were ready to get embellished. I cut out some vintage images from a cuttingsheet from Kort & Godt and put on some text stickers from Authentique. And some other small embellies.


I actually like how they turned out. So i`m definately going to try this again soon. I`m sorry i didn`t get to catch the shimmer of the colours. Daylight here is quite poor on this time of year. But i can asure you the shimmer looks fabulous! 

Thanks for taking the time to visit me. Allways love visits.


Related Posts with Thumbnails