Showing posts with label Lindy`s Stamp Gang. Show all posts

Friday, May 5, 2017

Colour Swatch

Hi peeps!

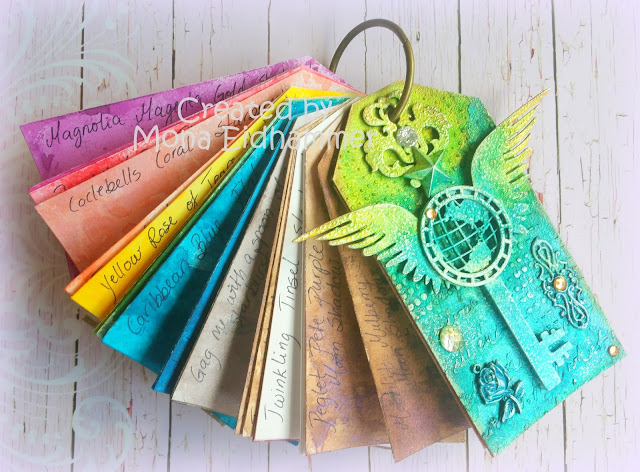
I have FINALLY gottn around to create a colour swatch. I thought it was a bit unnessesary to test all the colours each and every time i had to use one. Just because i didn`t remember what the colours look like, lol. Talk about spending colours on nothing... huh. Well, not any more.


Of course i had to create covers for it as well. I have found myself a new supplier of chipboard, Boozybear. Looove these designs. Please do check them out if you love steampunk designs. Her shop is here


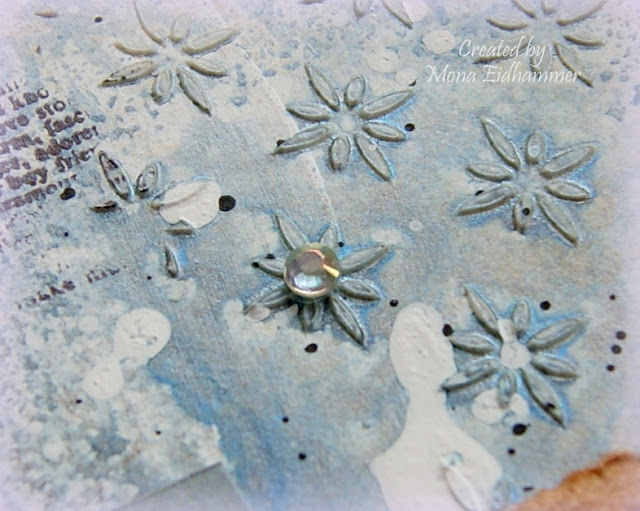
I have cut out a couple of tags from chipboard. Sized them a bit bigger than the swatches. For texture i used a couple of stencils with some modellingpaste. Glued on the chippies and metal pieces. Next i painted it all with white gesso before i started spraying my colours. Here i have used 3 different kinds of colour. To finish it off i put on a touch of silver paste just to make the pattern pop and also some bling.

Now i never have to try all the colours to find the right one, any more....yey.

Hope you liked my project today. Love to see you back soon.

Monday, April 17, 2017

A new creation....actually

Hi there everyone!

I`ve actually got a NEW creation in store for you today. It`s a mixed media layout of my eldest daughter. She was in a bit of a crazy, funny mood when she took this selfie. Of course i had to use this for my layout as i thought it was kinda cool. 

I started off with some modelling paste and a checker stencil. Next i used a stencil with numbers and some viva decor copper paste. For the spraying i used sprays from Lindy`s Stamp Gang. The final stencil i used is the leafy one, which i combined with distress ink, spiced marmelade.


When all the mediums had dried i stamped some text and a poststamp in random order. For the final touch on the background i used a cap of one of the spray bottles to "stamp" small circles of white gesso randomly. When finished with the background i started prepping the metal. I coated the metal with white gesso and then painted them with blue metallic blended with black, for the right shade.


Next task was to emboss the chipboardpieces. I have used embossingpowder from Lindy`s and Stampendous. I just love the blue shimmery colour of the arrow/feather piece. It doesn`t show too good on this pic but i promise it`s lovely.


I thought the sentiment was a bit describing for the mood in which the pic was taken, so i just had to use it. This piece was embossed with enamel from Stampendous. Here i have used Ivory. I just love the gold specs in it. 


The photo was matted with a designpaper and a white paper using chipboard to make a more layered effect. I also added some playingcards just for the fun of it.


For some last finishing touches i have added a few flowers, some metal stars and some bling. And then splattered with black and white gesso as well as the two colours used on the background. 

That`s it for this time. Hope to see you back here soon.


Thursday, November 24, 2016

Vintage mixed media canvas

Hi everyone!

Is anyone starting to get in some Christmas mood? Well i`m not! So i`ll just have to work on it, lol. In the meanwhile i have worked on something else. I got commisioned a vintage canvas and that`s what i`m going to show you.


The size canvas is about 6x8"...ish.
I started with priming the canvas with gesso. Next i used some modelling paste and stencils to make some extra texture. I started gluing down my embellishments when the paste had dried. I used a chipboard frame from Blue fern studios and a leaf branch from Dusty attic.


The image is from Ppinkydolls and is coloured with ProMarkers.


I have used flowers from Prima mainly but also some few others. Several metal work pieces and some lace. It all were thoroughly covered with gesso before i sprayed the whole thing with several colours of sprays from Lindy`s Stamp Gang.


I finished it of with some gems and some liquid pearls.


Look at the gorgeous sparkle of the flower. It was coated in a generous layer of Stickles stardust. Looove how it turned out.


Hope you like my new project. Thanks for stopping by today!
I allways appreciate some love, hint, hint, wink, wink, lol.
See you soon.

I`m entering these challenges:

Nordsalten hobbyklubb - Anything goes
Kort o Mania - Anything goes

Wednesday, November 9, 2016

Altered wooden box

Hi there everyone!

Hope you are all having a great day. The winter has finally arrived here in Trondheim....brrrrr. It`s cold but it looks so much britghter and cleaner outside now. So much better than the pooring rain. But, it won`t stay for long. The first snow never does.

Today i want to show you a wooden box i altered as a present to my eldest daughter.
In the top of this box is a small canvas which i primed with white gesso and decoupaged the image onto. 


Next i adhered all my chosen embellishments and gessoed it all.


On the sides i used some different stencils and put on some texture paste blended with sand to get this rough look on them.


Before i glued the canvas to the box, i sprayed it several times with sprays from Lindy`s Stamp Gang. And i just love how it turned out. 


Just look at all this yummy gorgeous shimmer. Looove it!


That`s it for today. Thanks for visiting me and hope to see you soon back again.


Sunday, October 2, 2016

Autumn layout

Hello peeps!

I`m back with a layout i created a while back. I suddenly realized that i hadn`t blogget it. It was one of my projects for an application to the Blue Fern Studios Designteam. I didn`t make the team though but i had lots of fun creating this one.


Fall is my favourite time of the year. There are so many fantastic colours. Just love it. And on this layout i have really enjoyed creating with all these different colours. The photo is of my eldest dayghter at her first day at school. Now she`s 18 years old. I wonder where the time went?


I have used colours from Lindy`s stamp gang. As it is a while since i created this, i`m so sorry to say that i don`t remember which colours i used. I usually write down all the colours i use, but it seems i have lost the note for this LO.


The paper is from Blue Fern Studios as well as the chipboard pieces.


I have used stencils from Prima and i have used green metallic modelling paste with sandgrains. It has a fantastic shimmer that i didn`t manage to catch on camera. You just have to take my word for it, lol.


I particularly love how this little birdie turned out.


I`m so pleased with the colour combo. Just love the rustic feel of the details. 


Just look at these wonderful fall colours on the chippie piece. 

Well....once again i got a bit overboard on the piccies, lol. I REALLY have to get better on that department, hahaha. Hope you are still with me though.

Thanks for visiting me today. Until next time.....

Sunday, May 1, 2016

Scraplifting Marta Lapkowska

Hi there everyone!

I hope you are having a wonderful weekend out there. I`m sitting here blogging and looking out on the fantastic weather. The sun is shining and it is a whopping 13 degrees. It`s just a bummer that i have to be close to the toilet today, lol. Anyway i get to blog my recent creation at least.

I little while back i asked Marta Lapkowska if i could get permission to scraplift her "Serenity" ATC series. Luckely she gave me her blessing. I was so happy course i love this series and i love her work in general. She is such a sweetheart and i am so grateful for her dedication to help new and upcoming artists with tips and tricks when it comes to beeing creative.

Well here we go. This first picture is the original from Marta. I just loooove this series. The colours, the design....i just totally fell in love with these the moment i layed eyes on them. And those butterflies are so, so beautiful.


Here is my take on the ATCs. Not nearly as beautiful as Marta`s but  i like the way they turned out. I didn`t have the same colours as the originals so i had to make do with my own stash. It`s funny to see the difference in the green colour as Marta used powder to blend with her paste and i used spray to blend with my paste. We have used the exact same colour and paste but mine turned out lighter than hers.  


Also...i didn`t have blue embossing powder so i had to improvise with dark brown instead. She also used art sugar to create the glittery effect on her details while i didn`t have that. So i used clear embossing powder with different colour of shimmer for the butterflies and added some Clear Wink of Stella on the dots and text. I know it doesn`t show as my lighting was not the best. I really have to get me one of those light tents, lol. 

Below you see some closeups.


Supplylist for my version on the ATCs:

Words from Authentique Petite diction: Pretty

This project was part of a challenge on Facebook in the group of ArJo`s Tag og ATC kos. Where the theme for the challenge was scraplifting.

Just to mention it if you are new to any kind of paperarts: When you "borrow" someone else`s creation in your work. Or if you are inspired by someone in any way, the proper thing to do is to give credit to the person you are inspired by. Either by mentioning their name in your post or even linking up to the actual piece you were inspired by.

With that said. Keep on creating. Meet new friends, help others where you can and give credit when credit is due.

Thursday, March 31, 2016

Blue Fern Studios Challenge

Hello Everyone!

For the first time i`m entering a layout challenge. I haven`t created many layouts. Can count them all on one hand, lol. As the deadline for this challenge is i the middle of the night for me, i had some poor light to take pics in. I will take some new ones in the morning. So i`m only posting this one, just so i could manage to enter the challenge in time.

UPDATE:
Below i have posted some new pics and a little description on how i went about it.


Here is the sketch we are working from.


I have to warn you though. This is a picture heavy post, lol.


I started prepping my paper from Blue Fern Studios of course (Petit moments from the Frolic collection), with a thin layer of gesso. Next i used modelling paste with stencils from Prima and The Crafters Workshop randomly placed. I then spritzed it with sprays from Lindy`s Stamp Gang and Ranger.


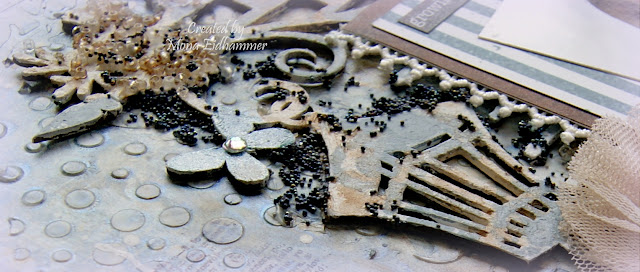
After everything had dried up i stamped with a text stamp randomly placed. I primed the chipboard with gesso and when dry i spritzed with Perfect pearls Blue Smoke and Distress paint Weathered Wood. I also used Long John`s Silver moonshaddow mist with a brush and painted some areas with it. Allmost every scrapper has probabely tons of scrap paper we can`t afford to throw away in case of later use. Well.... i have lots!!! and now i got to use some lol. I glued on some strips of scrap paper along with some corrugated cardboard, a doily and one vintage ephemera card. Oh i allmost forgot, lol. I also sprinkled some white and black acrylic paint blended with water to make it thinner and easier to apply.


When all the groundwork was finished i started embellishing the whole thing. Chipboard pieces from Blue Fern Studios off course. Shabby Brick bits and Township collage.


Other supplies used:

Clear glass beads art engredients from Prima
A mix of dark blue, gold and copper microbeads
Wood clock piece, Flowers,and vintage trinkets, all from Prima
From my stash: Lace, organza flower, a tag, wood star, thread and a tag.
Bling from Prima and Staz


Some more closeups following.


It took me some time since i actually have no idea what i`m doing, lol. That`s how it is when i overthink things. Anyone suffering from the same problem, huh? I have turned to Anna Rogalska`s creations for inspiration. Love her work.

Well, i hope you are still hanging on, lol. It got to be a long post. Not so often i do that. Hopefully it made some sense to you. If not, don`t hesitate to ask. I will try and answer as best as i can.

Now i only have to wish you a great weekend.

Challenge entered - Blue Fern Studios

Related Posts with Thumbnails