Showing posts with label Monochromatic. Show all posts

Sunday, January 31, 2016

12 Tags of 2016 - January

Hi everyone!

Hope you all are enjoying your weekend. I however have decided to particiate in the 12 tags of 2016 by Tim Holtz. This is the first time i`m entering these tags challenges. I am so excited.


This first one is a Technique remix from earlier projects by Tim. Links to these techniques is provided in Tim`s post.


And here is my take on the project.


I was a bit unsure of how i could pull this off, as my inventory of embossing folders are rather slim, lol. I only own 3 pieces as embossingfolders haven`t been a passion of mine. Two of these were absolutely not suitable for this project so i just had to go for an old one from Marianne Design. I was actually going to get rid of it but now i`m happy i didn`t, hahaha.


Another problem i had, was chalk. Absolutely non-existant in this household. So what to do? Well i cheated a bit. Instead of the chalk technique i used white embossingpowder and a white colouring pencil to achieve the same look. 


Well, I was at least satisfied with the end result and i had a lot of fun doing it, Hope you like it as well.


Supplies i have used:

Metal tape from my local hardware store.
White colouring pencil from Lyra.
Black and white acrylic paints

Thanks for visiting me today.

Wednesday, January 6, 2016

Kit and Clowder Christmas card swap

Happy New Year everyone!

 I just want to tell you about this amazing lady....Alyce from Kit and Clowder. She is leading this facebook-group of the most amazing girls. It is so great to be a part of this community.  There is allways some backing up no matter what you struggle with and they allways cheer on you if you have great things going on. 

She is also doing online colouring classes. And i just have to say they really makes a difference in your colouring technique. If you want to check it out you can find it here. 

It`s not only colouring we do. There is bingo weekend every first weekend of the month, there are challenges, there is a book club for those who want to join in. And lots more. Among one of the things we do is swapping stuff, lol. And the card below is the one i entered in this last years Christmas card swap. 

I had to restart colouring 3-4 times as i managed to muck things up. I guess you can understand the relief i felt when i finally finished the image without any huge flaws, lol. It`s been a while since i coloured and my confidence is not on top i`m afraid. Anyway...here it is.


This card was sent to Chris Neal across the big pond to USA. I hope she liked it.


Wednesday, October 28, 2015

WSBT round 2 - Layout category

Hi there!

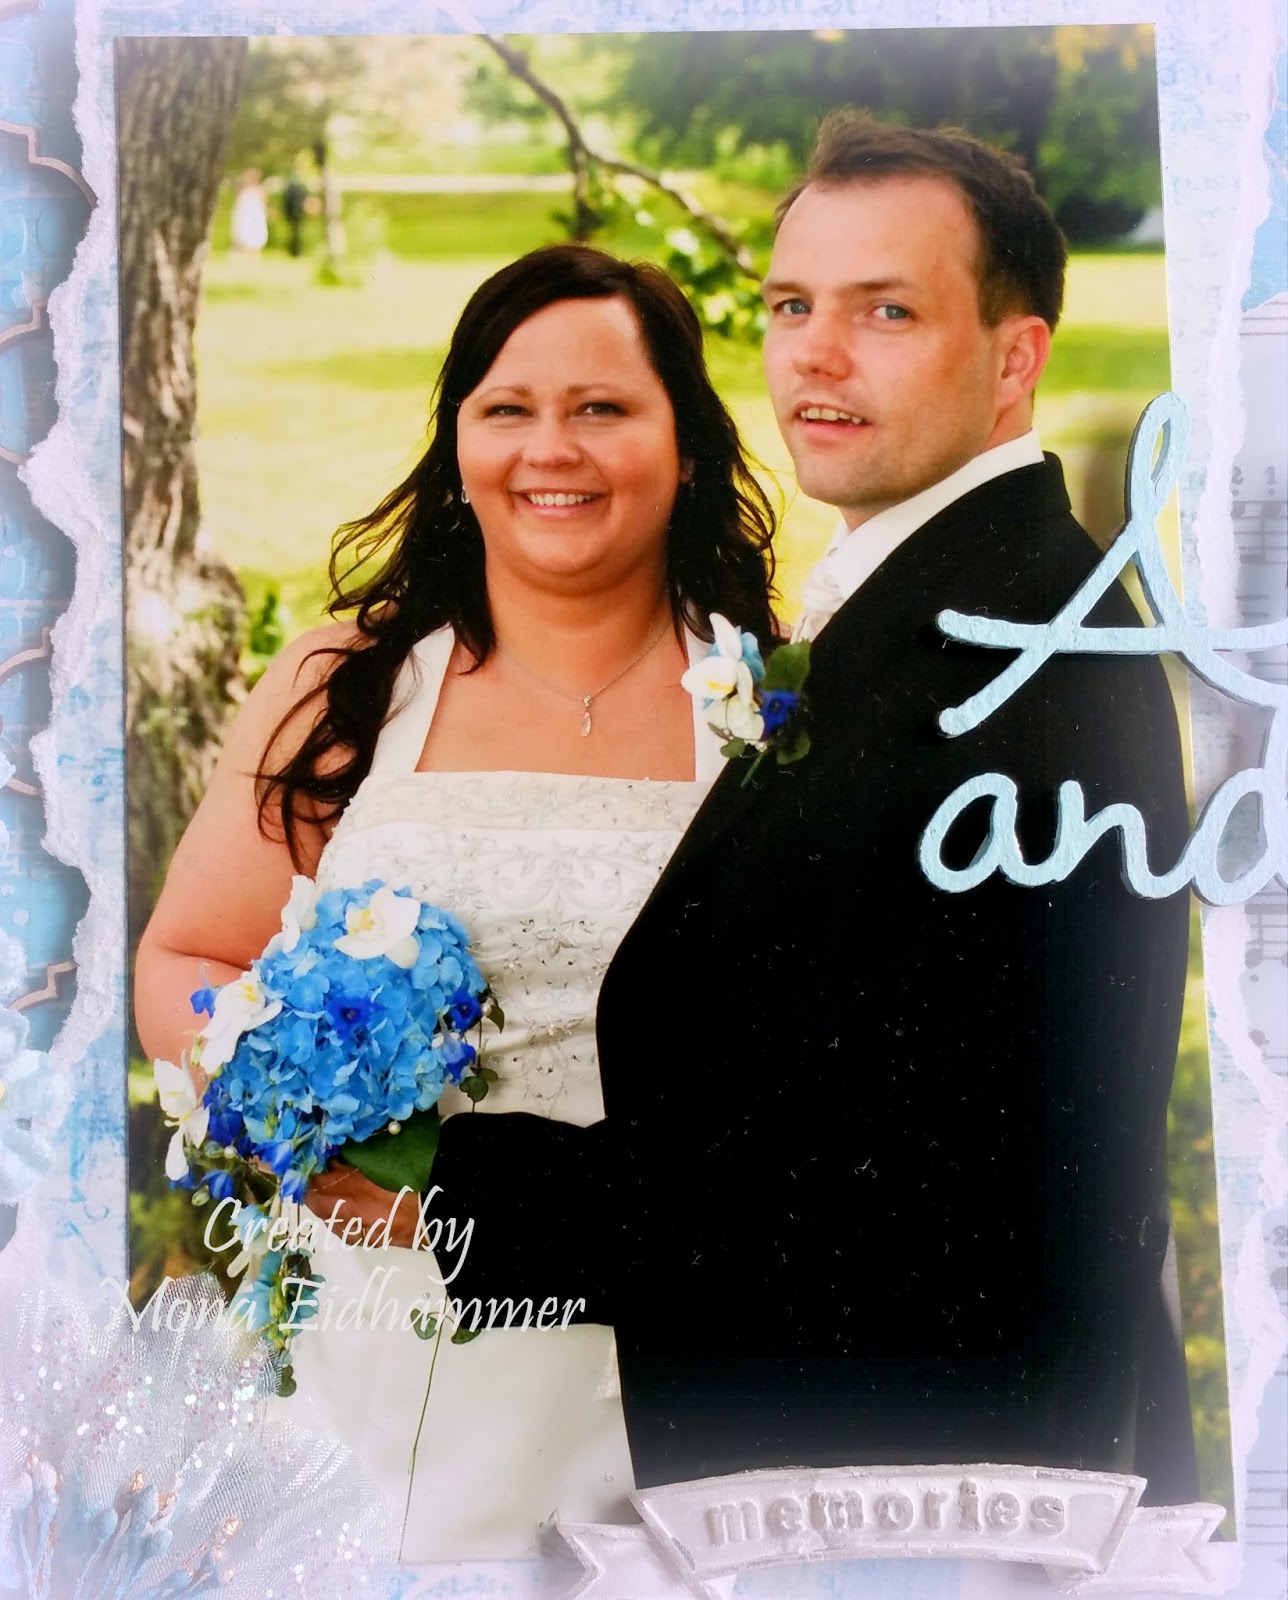
Just popping in to share with you my last creation for round 2 in the World Scrap Battle and Tournament. It`s a layout of my wedding and i just have to warn you that this is a picture-heavy post.


As our wedding theme were light blue i decided to use that colour for my layout. I love how the pics turned out and we had so much fun shooting them.


The paper is Parisian Anthology collection from Pink Paislee. Love the resist in the paper which you will see on a couple of pics further down. I started with Art Basics modelling paste from Prima using the burlap stencil by Tim Holtz and the moroccon lattice stencil from KaiserKraft. When dry, i used Broken china distress ink to frame the area of the photo. Next i spritzed with Blue Hawaiian blue from Lindy`Stamp Gang.


I then watered down some white and some black acrylic paint to make it thinner, and dripped it on the paper. I also dripped the blue from Lindy`s as well. The heart is Prima, Amore aqua coll. and the rose is WOC.


This Resin rose element from Prima was a bit ruined but i figured i could still use it. I painted the middle of the big flower (Meredith dove from Prima) to get rid of the "wrong" colour and gave the big rose (Arcadian coll. from Prima) some stickles diamond glitter. The memories element is also from Prima.


The Always and forever chipboard text is from Blue fern studios. I have painted it with some light blue acrylic paint and adhered it with some dimentional pillows. 


I and my amazing husband. 


Below are a couple of closeups, of the gorgeous shimmer from the sprays by Lindy`s. And you can also see the resist in the paper as i mentioned earlier. I just sprayed the mist and then used a damp cloth to dry it off, and the letters came forward as i never had sprayed them. Awesome, don`t you think?


I`m opleased with how this LO turned out. I still have lots to learn. But it is so much fun creating layouts. 


Hope you like this as much as i do. Thanks for visiting me today.
Sunday, October 25, 2015

WSBT - Round 2

Hey everyone!

Ok i know....i`m late posting this. I have no other excuse than i totally forgot. Sooorrrryyyy :-) But at least you`ll get 2 creations for the price of 1, lol.

So here i am with my next creations for the World Scrap Battle and Tournament round 2. And first up is my card.


I`ve created a vintage card in white for a communion. I`m not sure but i think the image i used is from a cuttingsheet from Kort & Godt. Please don`t arrest me if i`m wrong, lol.


I`ve used several kinds of flowers. They are from Kort & Godt and Wild Orchid Crafts.


Next up is my mask for the Alter category.


This is what it looked like before i started.


And here is the end result. I just loooove how it turned out. 


This is actually a candlelight decoration i have had for ages. I found it at Nille a few years ago, thinking it was so beautiful. I didn`t have the slightest idea of what i was gonna use it for though, lol. It was just one of those things you just HAVE to have. But this project is absolutely what it was ment for. I totally see it now, lol. 


I love how the blue shimmery look turned out. It is a blend of pearlescent sky blue ink from Tsukineko and Blue Hawaian blue starburst from Lindy`s Stamp gang. Topped with gems from Marianne Design over the eyes.


The chipboard piece from Dusty Attic is covered with shabby blue embossing enamel from Stampendous and the flowers are from Prima, WOC and Papirloftet. I believe the gems are also from WOC. The feathers are from Nille as well.

If you have any questions as to how the process was, i`ll be happy to answer.

Thanks for visiting me.

Thursday, October 22, 2015

World Scrap Battle and Tournament round 2

Hey everyone!

I`m so excited and happy to say that i got through to round 3 with all my creations. And the next 4 days i will show you what i created for round #2. Starting with my mixed media canvas. The theme set for this round was Monochromatic.


I started priming the canvas with gesso and glued the two heart shapes onto it. Next i glued plastic to cover the whole thing. You can stretch the plastic any way you like to create the texture you want. When i was satisfied with the way it was, i painted it with acrylic paint, making sure to get shades into it as well. I also put on some fine sand to get an extra texture. To finish it off i used my finger to just gently rub on some silver paint to make the texture pop a bit more.  


Hope you like my little canvas. Please feel free to stop by tomorrow as i`m having a new creation ready for you. 

Thanks for visiting me. Have a nice day everyone.


Monday, November 4, 2013

Monochromatic at WhoopsiDaisy

Hi everyone!

Today i want to show you a creation i made using one of the newest Halloween digis by Linnie at WhoopsiDaisy. You can find it on sheet #494. It took forever to colour. I believe i spent a little over 5 hours to colour it, lol. The only thing i`m not satisfied with is that my camera made the white stripes to appear stronger than in real life. And i think they are a bit overwhelming. Oh well...when i can`t make use of a decent daylight it sometimes end up like this i`m sorry to say.


The papers i have used are digipapers from Bearly Mine Designs. The spiderweb is fuzzycut from one of the digipapers.


Colours used:

Skin: Vanilla, Saffron, Oatmeal, Sunkissed pink, Tan
Hair: Black
Dress/hat: Black, Shale, Burgundy, Berry red, White Sakura gelly roll pen.
Other colours: Cool grey #5 and 4, Walnut, Terracotta, Spice, Sandstone, Pineapple crush, Buttercup


I didn`t have any black flowers so i used my ProMarker to colour most of it. I also had to use my Black soot distress reinker course i didn`t manage to colour all in the center of it. I just put some drops of ink in the middle and elsewhere where i couldn`t use my marker.


I also had this metal rose with the gorgeous red eye in the middle i just had to put it on the card.

So now it`s your turn to go and create something monochromatic. I`m looking forward to come visit you and see what you create. Happy crafting everyone!


Thursday, March 3, 2011

White on white at Kort og Godt!

Hei Bloggere!

Neida det er ikke en ny vinter det er snakk om her:-) I mars-utfordringen til Kort og Godt er det snakk om helt hvite kreasjoner. Du har kun love til å bruke litt farve på motivet. Jeg har brukt ett av mine nye Magnolia stempler: Birthday Tilda.

Endelig har jeg klar å finne en fargekombinasjon som ikke får huden til å se bleik ut. Jeg har brukt ProMarkerne Vanilla, Blush og Primrose til hudfargen og denne gangen ser Tilda mye friskere ut i fargen. Jeg ble i allefall kjempefornøyd.


Produkter fra Kort og Godt som jeg har brukt her er roseknoppene, den minste rosen og metallblomstene ved Tilda.

Magnolia-Licious er en av de andre utfordringene jeg har tenkt å være med i. Her er utfordringen et ramme-prosjekt med kravet: Bruk et av disse .... Bling/pearls, trim/ribbon samt 1 Magnolia image and flowers. Jeg har ingen rammer, så jeg brukte en kakeserviett som innramming til bildet. Håper den godtas likevel.

Jeg skal også være med i disse utfordringene: (Se nederst i innlegget)


Hi Bloggers!

No!! it is not another winter coming up:-) At the march challenge at Kort and Godt it is all about making an all white creation. You are only allowed to use colours on the image. I have used one of my new Magnolia stamps for this one: Birthday Tilda.

Finally i have found a color-combo that doesn`t make the skin look pale. I have used the ProMarkers, Vanilla, blush and primrose for the skin and this time a managed to make Tilda look a little bit more fresh. At least i was quite satisfied.

The products from Kort and Godt that i have used is the rosebuds, the smallest rose and the two metal-flowers besides Tilda.


Magnolia-Licious is one of the other challenges i am entering. The challenge here is a framed project with this recipe: Use one of these....Bling/pearls, trim/ribbon, one Magnolia stamp and flowers. I don`t own any frames so i used a cake doily to frame my image with. Hope it qualifies anyway.

I am also entering these challenges:


Wild Orchid - Challenge #18 Anything goes
Magnolia Stamp Lovers - Buttons and bling challenge
Magnolia Down Under - Challenge #85 Flower Power
Dream Valley - Challenge #1 Anything goes
Lexi`s creations - Challenge #34 Flowers
Papertake Weekly - Anything goes challenge
Related Posts with Thumbnails